The process of updating routed cabinet doors can add a fresh look to your cabinets with minimal effort. Here’s how to update routed cabinet doors:
- Clean the cabinet doors thoroughly to remove any dust or grime before beginning the update process.
- Sand down the routed areas of the cabinet doors to smooth out any rough patches and create a surface that will hold paint or stain.
- Apply a coat of paint or stain to the cabinet doors, making sure to cover all routed areas evenly.
- Allow the paint or stain to dry completely before applying a second coat if necessary.
- Once the doors are dry, reattach them to the cabinet frame.
Pro tip: Consider adding new hardware such as knobs or handles to complete the updated look of your cabinet doors.
How to Update Routed Cabinet Doors
If you’re tired of the outdated look of your routed cabinet doors, updating their design is an easy and affordable process. Here’s how to update routed cabinet doors:
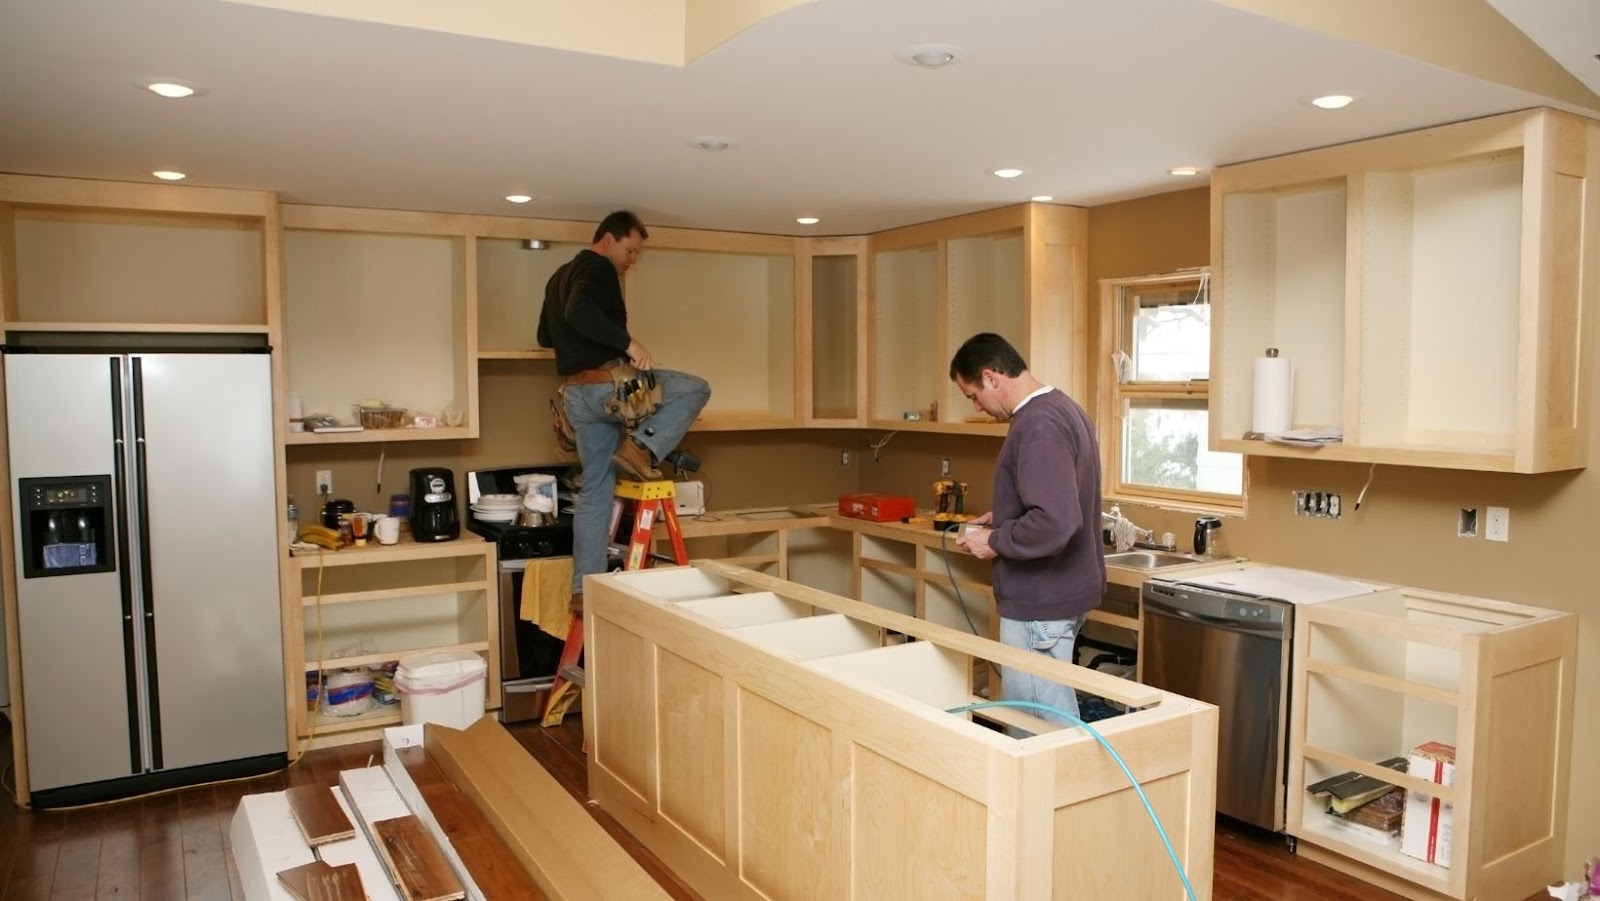
- Remove the cabinet doors: Use a drill or screwdriver to remove the screws from the hinges and carefully lift the doors off their frames.
- Sand the doors: Use sandpaper or a sanding block to remove any dirt, grime, or varnish on the surface of the doors.
- Apply wood filler: Apply wood filler to any cracks or holes in the routed design and allow it to dry completely.
- Repaint or Stain the doors: Choose your desired paint or stain and apply it to the doors in thin, even coats. Allow each coat to dry completely before applying the next.
- Reattach the doors: Once the doors are dry, reattach them to their frames using the same screws and hinges from before.
With these simple steps, you can transform the look of your routed cabinet doors without spending a fortune on brand-new ones.
Benefits of Updating Routed Cabinet Doors
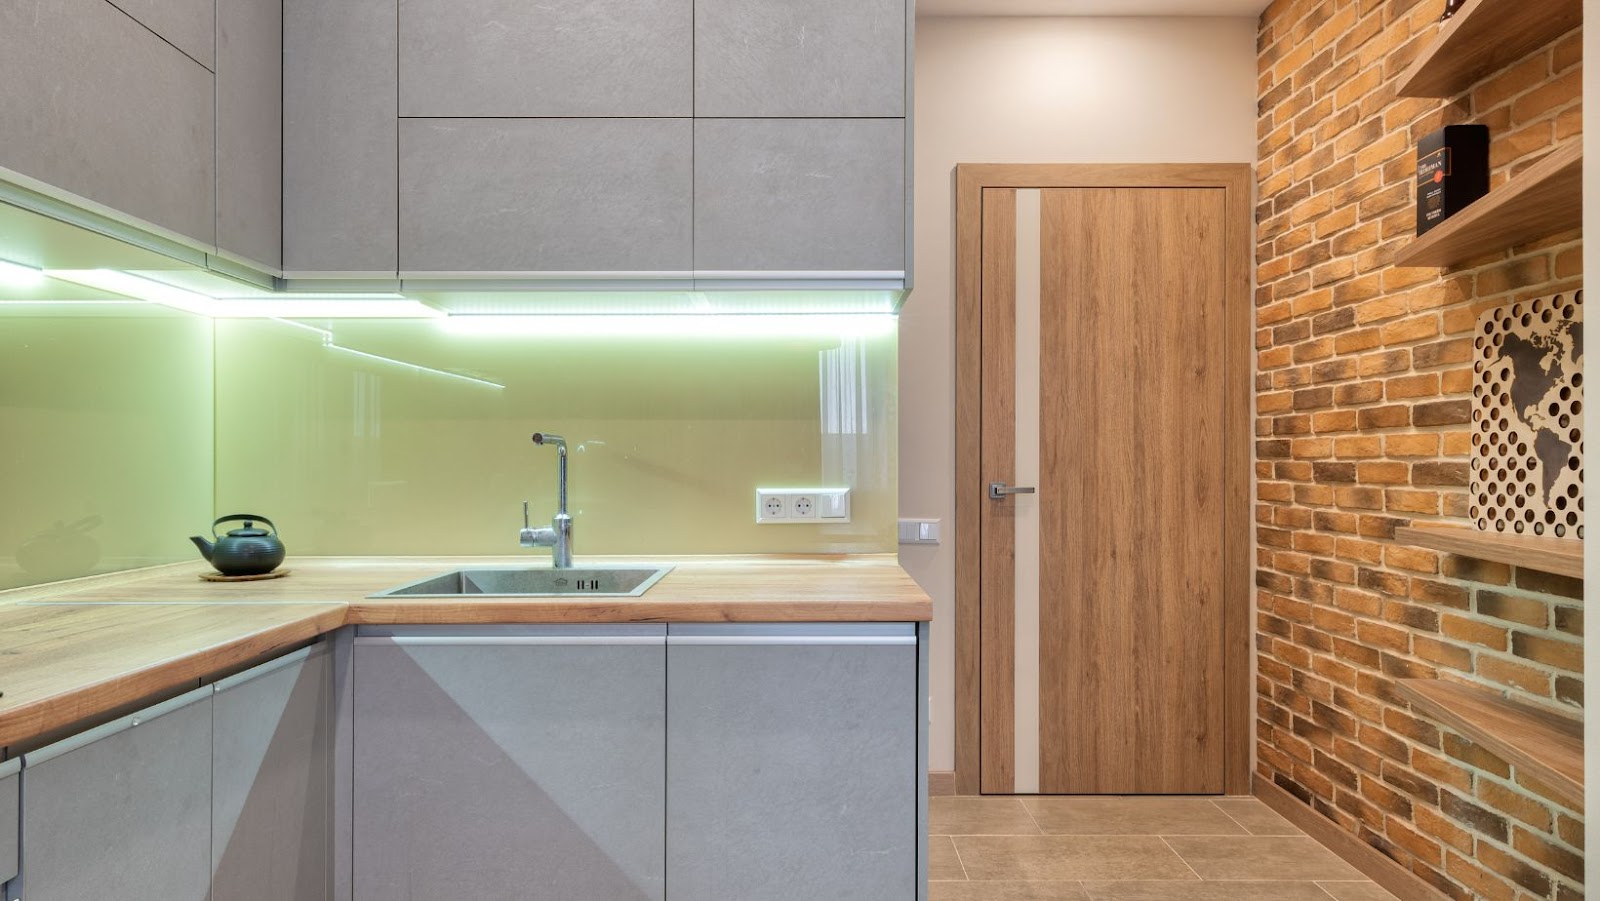
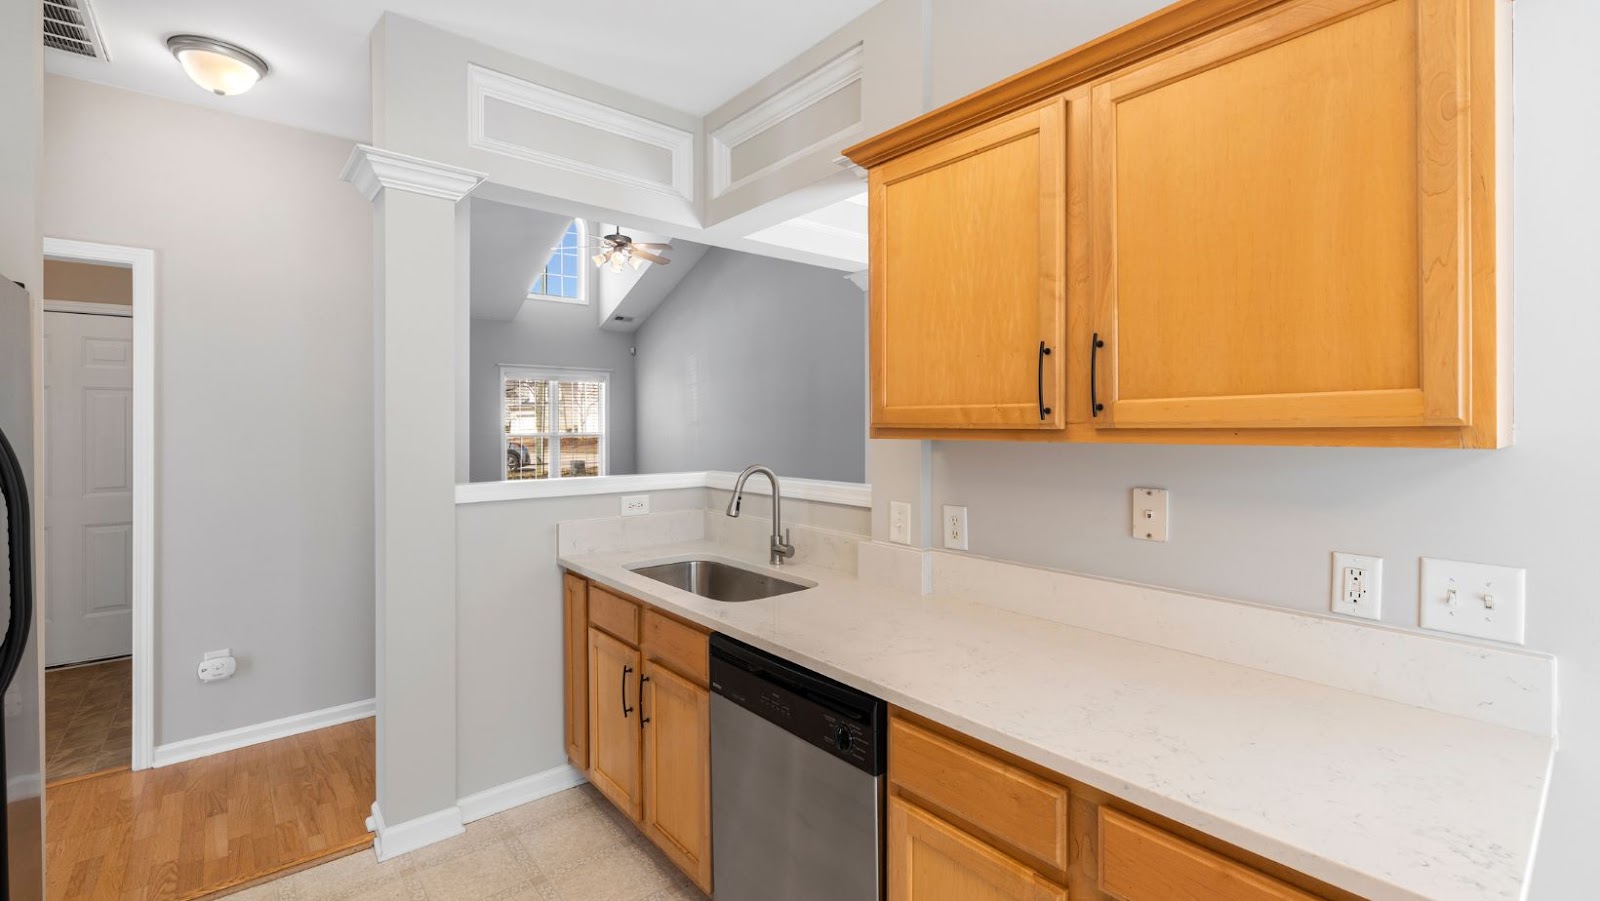
Updating routed cabinet doors can transform the look of your kitchen or bathroom, giving it a modern and sophisticated feel. Here are some benefits of updating routed cabinet doors:
- Cost-effective: Updating routed cabinet doors is a budget-friendly way to give your kitchen or bathroom a new look, rather than replacing the entire cabinets.
- Endless design options: With the routed cabinet door update process, you can choose from various designs and patterns that match your decor style.
- Improves functionality: Updated routed cabinet doors can improve functionality in your kitchen or bathroom by increasing storage space and enhancing accessibility.
- Increases resale value: Homebuyers looking for a modern kitchen or bathroom are likely to opt for a home with updated cabinets.
Updating routed cabinet doors is a simple process that involves sanding, painting, and adding the new routed panel. Professional help can be taken for a smoother experience.
Assessing the Condition of Routed Cabinet Doors
Before you begin the routed cabinet door update process, you should assess the condition of the routed cabinet doors you plan to update. This includes looking for signs of wear and tear, discoloration, or damage. You’ll also want to make sure that the doors are still firmly attached to the cabinet. Once you’ve assessed the condition of the routed cabinet doors, you can begin the process of updating them.
Common Issues With Routed Cabinet Doors
Common issues with routed cabinet doors include warping, cracking, and damage to the routed design. Assessing the condition of your routed cabinet doors is the first step in updating and restoring them to their original beauty. Here’s how to update your routed cabinet doors:
- Inspect your cabinet doors for any visible signs of damage such as cracks, holes, or missing routed designs.
- Sand the surface of the doors lightly to remove any stains, finishes, or dirt.
- Fill in any damaged areas with wood filler and allow it to dry or cure according to the manufacturer’s instructions.
- After the filler is dry, sand the surface again to make it smooth and even.
- Apply a new coat of stain or paint to refresh the look of your cabinets.
With proper care and maintenance, your restored routed cabinet doors can add value and beauty to your home for years to come.
How to Determine the Level of Damage to Routed Cabinet Doors
Knowing how to assess the level of damage to your routed cabinet doors is essential for determining whether to update or replace them. Here are some steps to follow to assess routed cabinet door damage:
- Inspect the door’s routed edges and corners for dents, scratches, and chips.
- Check if the door’s routed edges and corners are consistent in depth and shape.
- Determine if the routed edges and corners have been sanded too much, making the edges too thin.
- Check if the door has any warping or bowing, indicating water damage or poor installation.
If the routed edges and corners are damaged, have inconsistent depths or shapes, or have been sanded too much, it may be time to update them. The routed cabinet door update process involves sanding the door, filling in any holes or scratches, priming and painting or staining, and reinstalling it. With the right tools and steps, your routed cabinet doors can look new again!
Tools Needed for Assessing Routed Cabinet Doors
When assessing the condition of routed cabinet doors, the right tools can make all the difference in determining the best way to update them effectively. Here are the essential tools you will need:
- Measuring Tape: Use this to measure the exact dimensions of the existing routed cabinet doors to ensure your updated doors will fit seamlessly.
- Flathead Screwdriver: This tool is used to remove the hardware from the routed cabinet doors before updating them.
- Sandpaper: This helps smooth out rough edges and prepare the routed area for a fresh coat of paint or stain.
- Wood Filler: Fill any gaps or holes in the routed area to achieve a smooth surface.
- Router Bit Set: This set contains different router bits that help you create unique and updated routed designs on your cabinet doors.
- Primer and Paint: Use this to refinish your cabinet doors with the desired color and finish.
- With these tools in hand, updating and improving the look of routed cabinet doors is a fairly simple process that you can easily do at home.
Happy updating!
Prepping for the Cabinet Door Update
The routed cabinet door update process is an easy way to quickly freshen up your space. Before starting, some important prep work must be done in order to ensure the best possible finished product. In this article, we will discuss the steps to take when preparing the cabinet doors for an update.
Removing the Cabinet Doors
Removing the cabinet doors is the first step in prepping for the routed cabinet door update process. Here is a simple guide on how to remove the cabinet doors efficiently and safely:
- Gather the necessary tools: Screwdriver, gloves and safety goggles.
- Wear gloves and safety goggles for protection.
- Locate the hinges that mount the cabinet doors to the cabinet frame.
- Using your screwdriver, turn the screws counterclockwise to detach the hinges from the cabinet frame.
- Place the doors and screws in a safe location.
- Optional: Number each door and its corresponding hinge according to where it was mounted on the cabinet frame for easier reinstallation.
Removing cabinet doors is a simple task that can be completed by anyone, but always ensure you have the necessary tools and gear to avoid injury.
Cleaning the Routed Cabinet Doors
Cleaning the routed cabinet doors is an essential step in prepping for the cabinet door update process. Here is how to clean the routed cabinet doors:
- Remove the cabinet doors from their hinges and lay them flat on a clean surface. Use a gentle detergent and warm water to clean the routed areas thoroughly, removing any dirt and grime buildup. Skipping this step may prevent the paint or stain from properly adhering to the cabinet door.
- Rinse the detergent off with clean water and dry the cabinet doors with a clean, dry cloth. Sand the routed areas lightly with fine-grit sandpaper to create a smooth surface for painting or staining. This is particularly important when changing the colour of the cabinet door.
Wipe the sanding dust off with a tack cloth before proceeding with the update process.
Repairing the Damaged Areas on Routed Cabinet Doors
Updating your routed cabinet doors can give your kitchen a fresh and modern look. Here’s how to repair any damaged areas on your routed cabinet doors to prep them for the update process.
- Assess the damage: Identify the extent of the damage on the routed cabinet doors. Check for cracks, chips, or any loose veneer.
- Remove the damaged area: Use a chisel and a hammer to remove any loose or damaged veneer.
- Apply wood filler: Apply wood filler to the damaged area and spread it evenly.
- Sand the area: After the wood filler dries completely, use sandpaper to smooth out the area until the surface is even and flush with the surrounding wood.
- Prime and paint: Once the surface is completely smooth, prime it and then paint over it with your desired colour.
Now you can proceed with the cabinet door update process and enjoy your fresh and revamped kitchen.
Updating a Routed Cabinet Door
Updating a routed cabinet door can be a time consuming and challenging process. However, with the right tips and techniques, it’s possible to update your cabinet door without having to purchase a new one. In this article, we’ll discuss the different steps you can take to successfully update a routed cabinet door.
Choosing the Right Update Method for Routed Cabinet Doors
Choosing the right update method for routed cabinet doors plays a vital role in giving your kitchen cabinets an updated look. The process of updating routed cabinet doors involves several techniques that vary in difficulty and cost. Here are the best methods of updating routed cabinet doors:
- Paint: Painting is an affordable and straightforward way to update routed cabinet doors. Painting requires proper preparation like cleaning, sanding and priming the cabinets for a smooth finish.
- Replace Inserts: This involves removing the existing routed centre panel and replacing it with a new centre panel of a different material, like glass, metal, or wood. This provides a great way to change the look of your cabinets without having to replace them entirely.
- Refacing: Refacing involves removing and replacing the cabinet doors but keeping the external face frame and cabinet structure intact. This option is best suited for cabinets with routed doors in good condition that need a cosmetic update.
- Restoring: Restoring involves taking off the existing routed panel and replacing it with a new solid piece. This is an excellent option for cabinets with extensive damage or need extensive repairs.
Choose the update method that best suits your budget, requirements, and kitchen décor to give your kitchen an updated look.
Updating Routed Cabinet Doors With Paint or Stain
Updating routed cabinet doors with paint or stain is a cost-effective way to give your kitchen a fresh and modern look without replacing your cabinets entirely. Here is how to update routed cabinet doors:
- Remove the cabinet doors and lay them flat on a work surface.
- Use sandpaper or a power sander to remove the existing paint or stain.
- Apply a coat of primer to the cabinet doors, allowing them to dry thoroughly.
- Apply one or more coats of your chosen paint or stain colour to the cabinet doors, allowing them to dry thoroughly between coats.
- Reattach the cabinet doors to the cabinets using a screwdriver.
With just a little DIY know-how, updating your routed cabinet doors can be an easy and affordable way to breathe new life into your kitchen.
Updating Routed Cabinet Doors With Vinyl Wraps
Vinyl wraps are a cost-effective and easy way to update your routed cabinet doors and give your kitchen a fresh new look. Here’s a step-by-step guide on how to update your routed cabinet doors with vinyl wraps:
- First, measure the size of each cabinet door and order the appropriate size of vinyl wrap.
- Clean the routed cabinet doors thoroughly and let them dry completely.
- Cut the vinyl wrap into the required size and shape for the cabinet door.
- Peel off the adhesive backing from the vinyl wrap and apply it to the routed cabinet door, smoothing out any air bubbles as you go.
- Trim off any excess vinyl wrap with a sharp knife or scissors.
- Repeat the process with all of the other routed cabinet doors.
And there you have it – a budget-friendly, hassle-free way to update your kitchen cabinets with vinyl wraps.
Reinstalling the Updated Cabinet Doors
Updating the look of your kitchen or bathroom cabinets is a great way to refresh the look of the space. The routed cabinet door update process is a relatively simple way to increase the aesthetic of your room. Once you’ve completed the routed update process, you’ll need to reinstall the updated cabinet doors, which can require a few simple steps. In the following article, we’ll discuss how to ensure a successful reinstallation of your updated cabinet doors.
Rehanging the Routed Cabinet Doors
If you’ve recently updated your kitchen by replacing your old cabinet doors with newly routed ones, then reinstalling them might seem intimidating. However, the process to rehang routed cabinet doors is straightforward and can be completed in just a few steps. Follow this guide on how to update routed cabinet doors:
- Remove the Door
Using a screwdriver or drill, remove the hinges connecting the routed cabinet door to the cabinet frame. - Position the Hinges
Measure the distance from the top, bottom, and sides of the cabinet to the hinge placement, and position the hinges accordingly. - Attach the Hinges
Use screws to attach the hinges to the cabinet frame, making sure they are securely fastened. - Reattach the Door
Align the hinge plates on the door with the hinges on the cabinet and reattach them to the frame.
Rehanging the routed cabinet doors is a quick process that will allow you to enjoy the updated look in no time.