Making your own kitchen cabinet doors is a cost-effective and creative way to transform the look of your kitchen. Here are some tips and tricks to help you get started
How to Make Kitchen Cabinet Doors
- Measure twice, cut once: Accurate measurements are crucial when making cabinet doors. Always double-check your measurements before making any cuts to avoid costly mistakes.
- Choose the right materials: Select materials that match your existing cabinets and hold up well over time. Popular choices include solid wood, plywood, or MDF.
- Invest in quality tools: Having the right tools makes all the difference when it comes to making cabinet doors. Invest in a table saw, mitre saw, and a quality router for professional-looking results.
- Use appropriate joinery: Choose an appropriate joinery method that suits your skill level and the look you want to achieve. Popular methods include pocket-hole joinery, dowel joinery, or mortise-and-tenon joinery.
- Sand and finish your doors: Proper sanding and finishing will give your cabinet doors a professional look and make them last longer. Start with coarse sandpaper and gradually work your way to finer grits.
Pro tip: Stain or paint your cabinet doors before installing them to avoid missing any spots or damaging other parts of your kitchen.
Tools and Equipment Needed
Making kitchen cabinet doors is not difficult, but it does require the right tools and equipment. This section will discuss the tools and equipment needed to make kitchen cabinet doors. Having the right supplies will help ensure your cabinet doors come out looking professional and beautiful. So, let’s take a look at the tools and equipment you need to make kitchen cabinet doors.
Required Equipment and Tools
Making kitchen cabinet doors requires specialised tools and equipment to ensure a professional and functional final product. Here is a list of equipment and tools required for making kitchen cabinet doors:
- Table Saw: A table saw is a crucial tool for cutting lumber and plywood sheets to the necessary measurements for your cabinet doors.
- Drill Press: A drill press is used to create evenly spaced holes in your cabinet doors for the hinges.
- Router: A router is used to create the decorative edges on your cabinet doors.
- Jigsaw: A jigsaw is used to cut out the centre panel of your cabinet doors.
- Clamps: Clamps are used to secure your lumber and plywood sheets as you cut them to prevent injury and mistakes.
- Sandpaper: Sandpaper is used for smoothing and polishing the edges of your cabinet doors after cutting and routing.
- Tape Measure: A tape measure is used to ensure that all your boards are cut accurately and to the correct size.
With these tools and equipment, you will have everything you need to make kitchen cabinet doors that will be both stylish and functional.
Recommended Safety Gear
When making kitchen cabinet doors, it’s essential to have the right tools and equipment to ensure a smooth and safe process. Here are some recommended safety gear that you should have before starting the project:
- Eye protection: Wearing safety glasses or goggles can prevent debris and wood chips from entering your eyes while cutting or sanding the wood.
- Dust mask: Using a dust mask can help protect your lungs from inhaling sawdust or other particles while sanding or cutting wood.
- Ear protection: Earplugs or earmuffs help reduce the noise produced by power tools and machinery, which can damage your hearing.
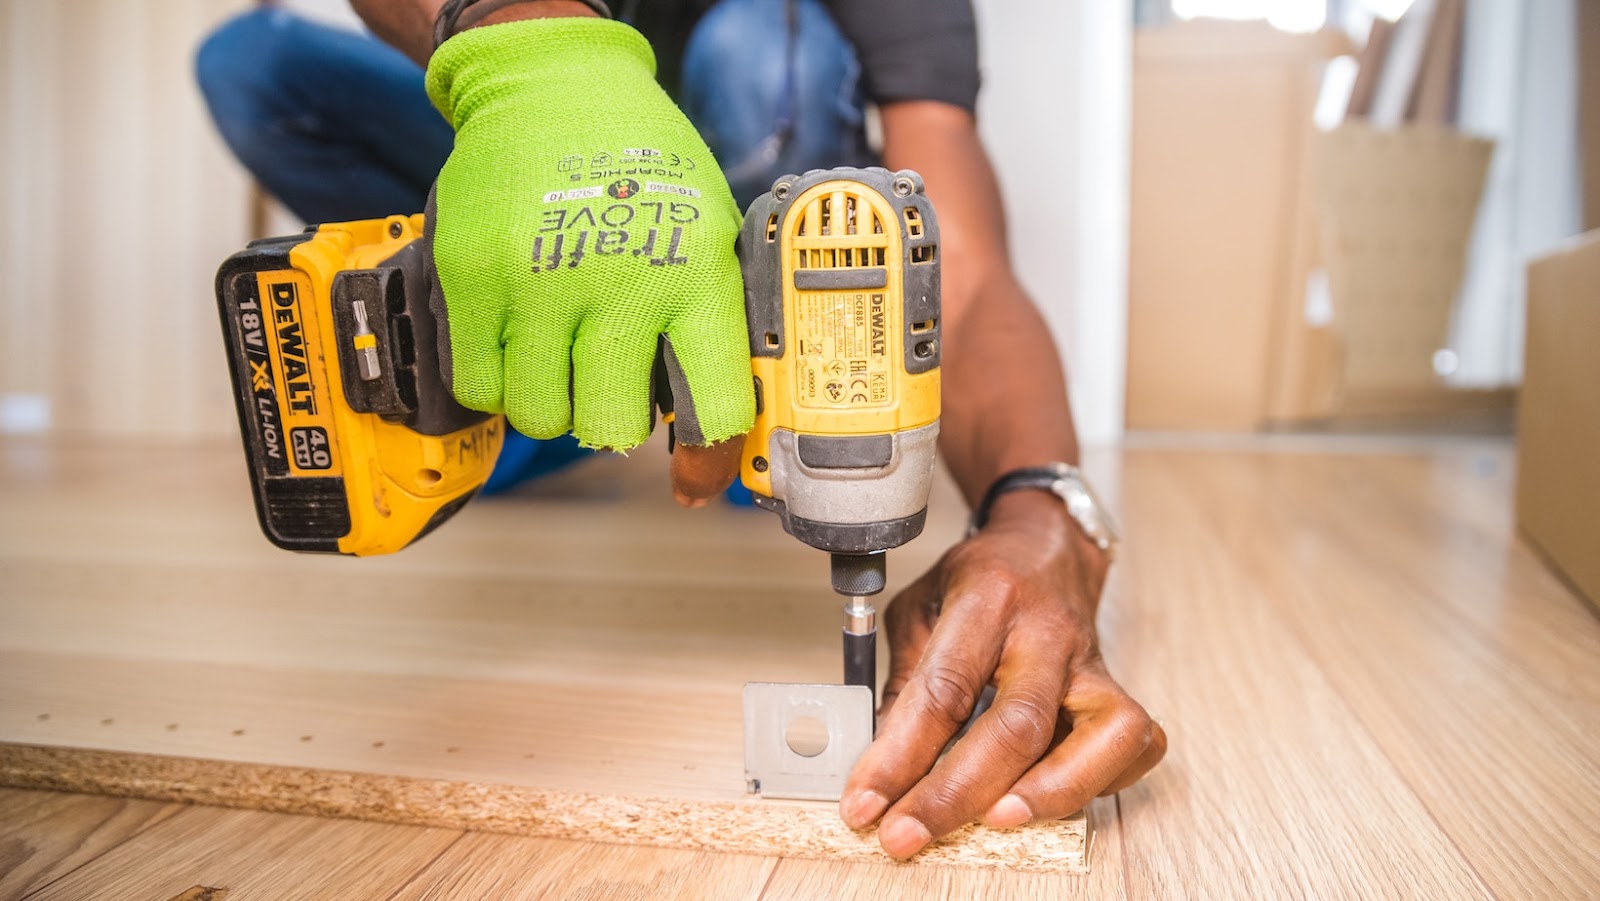
- Gloves: Wearing gloves can protect your hands from cuts, bruises, and splinters while working with sharp tools and handling heavy pieces of wood.
Remember, safety should always come first, and wearing the proper protective gear can prevent accidents and injuries. Pro tip: Always read and follow the manufacturer’s instructions for each tool or equipment.
Safety Precautions
Making your own kitchen cabinet doors can be a fulfilling and fun project, but it’s important to follow some safety precautions to prevent potential accidents.
Here are some tips to keep in mind when working on the project:
- Wear protective gear like goggles, a dust mask, and gloves to prevent any dust or debris from getting into your eyes or skin.
- Follow the manufacturer’s instructions when using power tools and other equipment.
- Keep your work area clean and organized to prevent tripping hazards or accidents.
- Take breaks and stay hydrated to avoid fatigue and exhaustion.
- Double-check your measurements and calculations before making any cuts or adjustments to your materials.
Following these safety guidelines will help ensure a successful and accident-free project. Pro tip: If this is your first time using power tools or working on a DIY project, consider taking a beginner’s class or watching instructional videos to learn more about safety and techniques.
Materials Needed
Making your own kitchen cabinet doors can give your kitchen a unique and custom look without having to buy a whole new set of cabinets. To start creating your own bespoke kitchen cabinet doors, you will need to gather some materials. Here are some of the essentials that you will need in order to make your own doors.
Wood Types
Choosing the right kind of wood for making kitchen cabinet doors is crucial to ensure that they are durable, functional, and visually appealing. The following are the best wood types for making kitchen cabinet doors and some tips and tricks for crafting them:
- Maple: Maple wood is durable, hard, and uniform in grain pattern, making it a popular choice for kitchen cabinets. It’s also easy to work with, making it a favourite among DIY enthusiasts.
- Birch: Birch is an affordable alternative to maple, with a similar grain pattern and physical characteristics. It’s a softer wood, making it more prone to dent or scratch, but it’s still a great option for those on a budget.
- Cherry: Cherry wood has a fine, straight grain with occasional mineral streaks, which gives it a unique and beautiful appearance. It’s also strong and durable, making it ideal for high-use cabinets.
Pro tip: When making kitchen cabinet doors, always sand the wood smooth and apply a coat of sealant or paint to protect them from moisture and wear.
Remember, the right wood type and proper finishing can make your kitchen cabinet doors stand the test of time.
Sheet Materials
Sheet materials are an excellent choice for making kitchen cabinet doors due to their durability, affordability, and versatility. Here are some materials needed and tips and tricks to make kitchen cabinet doors:
Materials needed:
- Plywood: an affordable and easy-to-work-with option.
- MDF: a dense and smooth option that’s great for painting.
- Particleboard: a budget-friendly option that can look good with veneer or laminate finishes.
Tips and tricks:
- Measure carefully and accurately to ensure a perfect fit.
- Choose a style and finish that complements your kitchen’s overall design.
- Use quality hardware such as hinges and door handles to ensure smooth operation.
- Consider adding trim or accent pieces to give your cabinet doors a unique look.
With these materials and tips, you can make beautiful and functional kitchen cabinet doors that will last for years to come.
Veneer and Edging Tape
Veneer and edging tape are essential materials needed to make kitchen cabinet doors, providing durability and a seamless finish.
- Veneer: Thin sheets of wood veneer are glued to the surface of a core material, typically MDF or particleboard, to create a cabinet door. The veneer can also be stained or painted to match the desired aesthetic. When working with veneer, it’s important to use a high-quality adhesive and to clamp the veneer down to ensure a tight bond.
- Edging Tape: Edging tape is a thin strip of thermoplastic adhesive that is applied to the edges of the door to create a seamless finish. It’s essential to match the edging tape color to the veneer color to create a cohesive look.
- Tips and Tricks: When making kitchen cabinet doors, it’s important to measure accurately and to use a high-quality saw blade to prevent splits and chips. It’s also important to sand and prime the doors before applying the veneer and edging tape to ensure a smooth and even surface.
Pro Tip: For a professional finish, consider using a router to create decorative edges on the cabinet doors.
Measuring and Cutting
Measuring and cutting your wood correctly is the key to successful kitchen cabinet door making. Having the right measurements and angles is essential in order to make sure that your kitchen cabinet looks good and functions properly. In this article, we will take a look at some tips and tricks on how to measure and cut your wood for the best results.
Taking Accurate Measurements
Taking accurate measurements is essential when making kitchen cabinet doors, as even a slight deviation can result in poor-fitting doors that won’t close properly. Here are some tips and tricks to ensure your measurements are precise:
- Use a metal tape measure: Metal tape measures are more durable and accurate than cloth tape measures.
- Read the markings carefully: Make sure you are catching the correct increment- every notch counts!
- Measure multiple times: Double-check your measurements by measuring at least twice, and averaging the results.
- Record your measurements: Write down your measurements using pencil and paper to avoid any confusion later.
- Account for tolerances: Be aware that wood has natural variations, and adjust your measurements accordingly.
By using these tips, you can accurately measure and cut your kitchen cabinet doors, ensuring a professional-looking finish to your DIY project.
Making Precise Cuts
When making kitchen cabinet doors, precise cuts are essential to create a seamless look. Here are some tips and tricks to help you make accurate cuts:
- Use a measuring tape: A measuring tape helps you mark the exact dimensions of the wood pieces you need to cut.
- Mark the cut line: Use a straight edge or a combination square to mark the cut line, ensuring that the line is straight and even.
- Use a sharp saw blade: A sharp saw blade ensures that your cuts are clean and precise. A dull blade can cause splintering and uneven cuts.
- Clamp the wood in place: Clamping the wood in place prevents it from moving while you make the cuts, ensuring accuracy.
- Practice on scrap pieces of wood: Before making cuts on your actual wood pieces, practice on scrap pieces to perfect your technique and ensure accuracy.
By following these tips and tricks, you can make precise cuts and create beautiful and seamless kitchen cabinet doors.
Refining the Doors
Refining the doors is an essential part of making kitchen cabinet doors that fit perfectly and look professional. Here are some tips and tricks for measuring and cutting your cabinet doors accurately.
- Measure twice, cut once: Before making any cuts, double-check your measurements to ensure accuracy.
- Use a straight edge: A good straight edge is essential for cutting straight and accurate lines.
- Cut the sides first: Cut the vertical sides of your cabinet doors first, ensuring that they’re perfectly square.
- Cut the top and bottom rails: Measure the distance between the two vertical sides and cut the top and bottom rails to size.
- Use a router for profiled edges: A router is an excellent tool for creating profiled edges on cabinet doors.
By following these tips, you can create well-refined and aesthetically pleasing kitchen cabinet doors that add value to your kitchen. Pro tip: Invest in good quality tools for precise and satisfying results.
Assembling the Doors
Assembling kitchen cabinet doors is not as difficult as you may think. However, with the right tools and materials, you can make them quickly. We will discuss the best tips and tricks for how to make kitchen cabinet doors in this section, from measuring the exact size of the door, to pre-finishing, and finally assembling and installing the door. Let’s get started.
Preparing the Panels
To assemble kitchen cabinet doors, you will first need to prepare and gather the panels. Prototyping your doors first will allow you to understand the procedure and make any necessary adjustments to the dimensions. Here are some tips and tricks for preparing the panels to assemble kitchen cabinet doors:
- Choose the right materials: Select the materials based on durability, functionality, and aesthetics.
- Measure accurately: Use precise measurements to ensure the panels fit properly and align perfectly.
- Cut the panels: Use a table saw or router to cut the panels to size and sand the edges afterward.
- Drill the holes: Drill holes in the side panels for attaching hinges.
- Paint or stain: Apply a coat of paint or stain to your panels, allowing it to dry before attaching them together.
Pro Tip: When attaching the panels together, ensure that you clamp the panels so that they do not move and the glue and screws can dry and set effectively.
Adding the Rails and Stiles
Adding the rails and stiles is a crucial step in assembling kitchen cabinet doors. The rails and stiles are the frame of the doors and hold the panels in place.
Here are some tips and tricks to follow when adding rails and stiles:
- Measure carefully: Accurate measuring is key to ensuring the rails and stiles fit together correctly. Measure each piece twice before cutting.
- Label each piece: To avoid confusion during assembly, label each piece of the rails and stiles with a number or letter that corresponds to its position in the frame.
- Use a woodworking jig: A woodworking jig can help make consistent, precise cuts when adding the mortise and tenon joints that connect the rails and stiles.
- Clamp the pieces: Use clamps to hold the rails and stiles together when glueing and nailing them in place.
- Sand the edges: After the rails and stiles are assembled, use sandpaper to smooth any rough edges before attaching the panel.
Pro tip: Use a router to add decorative designs to the rails and stiles for a personalised touch to your kitchen cabinet doors.
Aligning and Clamping the Doors
Aligning and clamping the doors is an essential step in assembling kitchen cabinet doors, and it can be a tricky process. However, with the right tools and techniques, you can ensure that your doors fit perfectly and function smoothly. Here are some tips and tricks to follow:
- Use a carpenter’s square and a tape measure to ensure that each door is the correct size and square.
- Use shims to make minor adjustments to the door’s position, ensuring that the frame and the door are perfectly aligned.
- Use clamps to hold the door in place while you work on it. These can be either spring clamps, bar clamps, or pipe clamps depending on the size and shape of the door.
- Check the alignment of the doors regularly and make any necessary adjustments before moving on to the next door.
With these tips, you can ensure that your kitchen cabinet doors are fitted tightly and function smoothly, making them a beautiful and functional addition to any kitchen.
Finishing the Doors
Finishing the kitchen cabinet doors is one of the final steps in the process of how to make kitchen cabinet doors. With the right finishing techniques and materials, cabinet doors can add a touch of elegance to any kitchen.
This section will focus on some of the best tips and tricks on how to finish kitchen cabinet doors from start to finish.
Sanding the Surface
Sanding the surface of the kitchen cabinet doors is a crucial step to ensure a smooth finish and professional look. Here are some tips and tricks to follow while finishing kitchen cabinet doors:
- Use 220-grit sandpaper to sand the surface of all the cabinet doors.
- Sand in the direction of the wood grain, applying consistent pressure to avoid over-sanding or creating uneven surfaces.
- Sand the edges of the doors, removing any roughness or splinters that could affect the overall look of the finished product.
- After sanding, use a tack cloth to remove any dust or debris left on the surface.
Remember, the key to achieving a beautiful and polished look with your kitchen cabinet doors is in the details. By sanding the surface carefully, you can ensure a flawless finish that lasts.

Staining and Painting
Staining and painting are essential finishing techniques to enhance the look of your kitchen cabinet doors. Before starting the process, it is crucial to prepare the surface by sanding and cleaning it. Here are some tips and tricks to help you achieve a great finish:
For Staining:
- Choose a stain that matches the colour and grain of the wood.
- Always test the stain on a small area first to observe how it dries and to ensure it matches your desired finish.
- Apply the stain with a brush or cloth in the direction of the wood grain.
- Wipe off any excess stain with a clean cloth to avoid a sticky surface.
- Allow sufficient time for the stain to dry and cure before applying a topcoat.
For Painting:
- Use a primer to prepare the surface by planning to apply a new coat of paint on your kitchen cabinet doors.
- Choose a paint that is suitable for your kitchen cabinets.
- Apply the paint with a brush or roller with long and even strokes.
- Apply a second coat of paint after allowing enough time for the first coat to dry.
- Allow the paint to dry and cure before reassembling your kitchen cabinets.
Pro Tip: If you want to achieve a professional finish, you can hire a painting company that specialises in painting kitchen cabinets.
Sealing and Protecting the Doors
When it comes to finishing kitchen cabinet doors, sealing and protecting them is crucial to ensure longevity and durability. Here are some tips and tricks to help you seal and protect your kitchen cabinet doors:
- Sand the doors thoroughly to remove any bumps or rough spots before applying any stain or paint.
- Use a sealant or topcoat to protect the wood and prevent it from absorbing moisture and other damage.
- Apply the sealant evenly with a brush or sprayer, following the manufacturer’s instructions.
- Allow the sealant to dry completely before applying a second coat or moving on to painting or staining.
- Consider using a polyurethane sealant for added protection and durability.
By following these tips, your kitchen cabinet doors will not only look great but will also last longer and resist wear and tear.
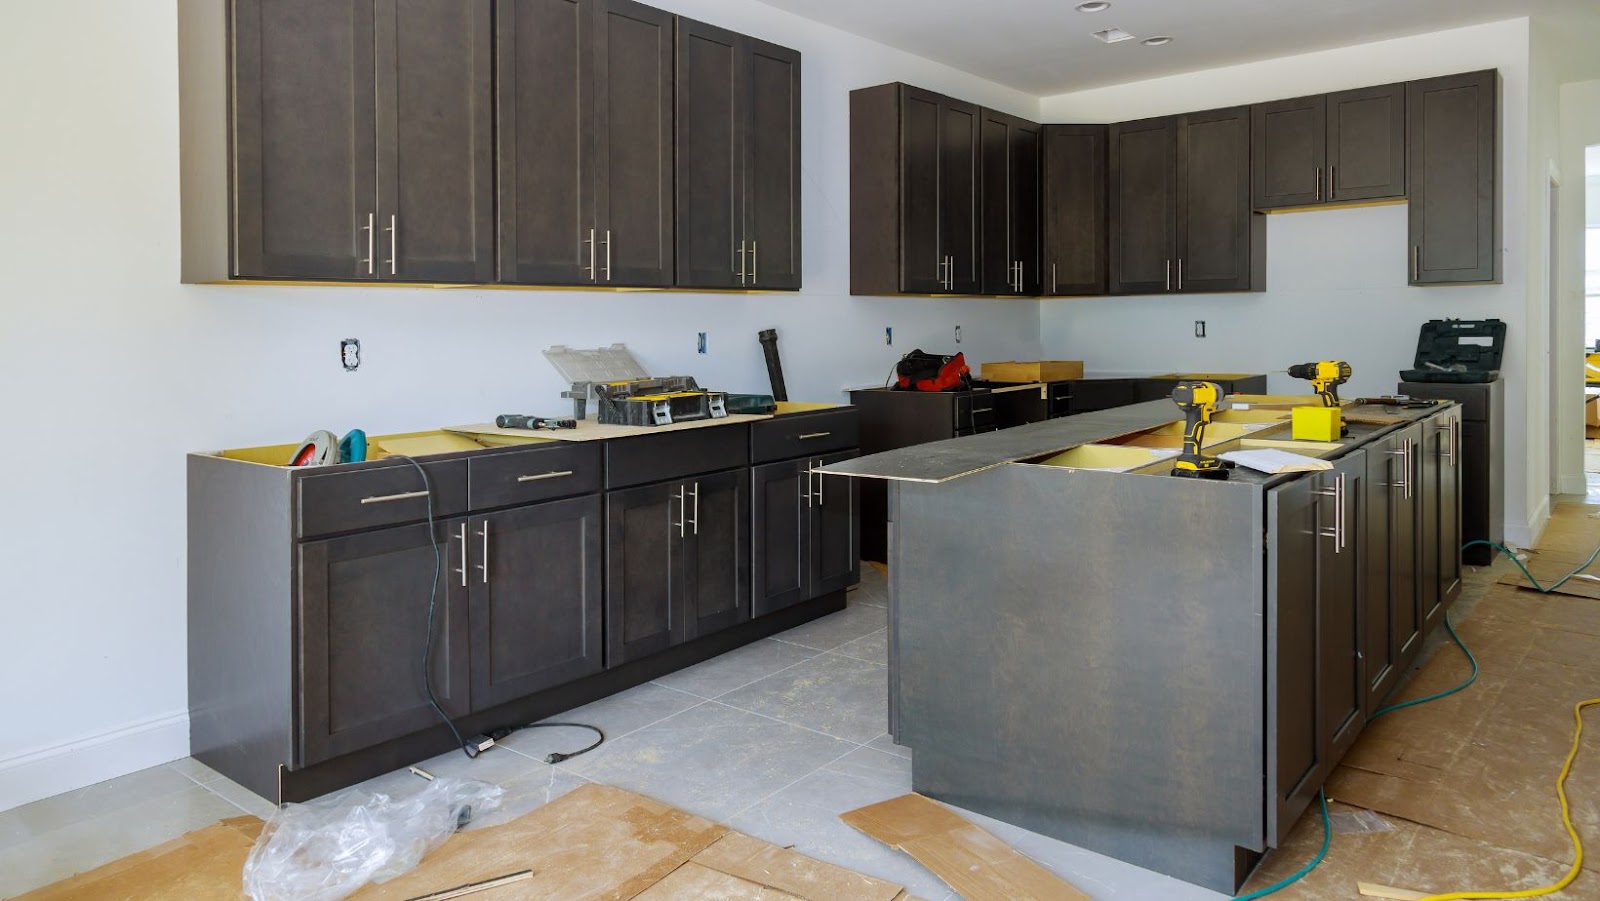
Installing Cabinet Doors
Installing cabinet doors is a crucial part of kitchen renovation projects. Not only are cabinet doors a functional addition to your kitchen, but they can also add to the overall aesthetics of the space. Knowing how to properly install kitchen cabinet doors is a useful skill to possess, and it can save you time and money. This article will cover a few tips and tricks for installing cabinet doors.
Fitting the Hinges
Fitting hinges is a crucial step in installing cabinet doors and ensuring they function smoothly. Here are some tips and tricks to help you fit hinges properly while making kitchen cabinet doors:
- Choose the right size of hinges and make sure they match the thickness of the cabinet door and frame.
- .Mark the location of the hinge on both the door and the cabinet frame with a pencil, ensuring they are well-aligned.
- Pre-drill pilot holes at the marked locations to prevent the wood from splitting and to make it easier to screw in the hinges later.
- Attach the hinge plate to the cabinet frame first, then screw the hinge arm to the back of the door.
- Adjust the hinges as needed to ensure the door sits flush with the cabinet frame and opens and closes smoothly.
By following these tips, you’ll have a perfectly functioning cabinet door that is easy to install and use.
Attaching the Handles or Knobs
Attaching handles or knobs to your kitchen cabinet doors is the final step in the installation process. Here are some tips and tricks to ensure a smooth and successful installation:
- Measure Twice: Before drilling your holes, make sure to measure the distance accurately between the holes. A slight mistake can be costly and affect the overall look of your cabinet doors.
- Use a Template: A template will help ensure all of your holes are drilled correctly and uniformly throughout the cabinet doors.
- Choose the Right Hardware: Consider the overall design aesthetic of your kitchen and choose hardware that complements the color and style of your cabinets.
- Consider Function: Handle or knob size should be determined by the size of your cabinet doors and your overall design aesthetic.
- Install Handles or Knobs Last: Attach the hardware once the cabinet doors have been mounted and are in their final resting position. This will allow for any necessary adjustments.
With these tips and tricks, attaching handles or knobs will be an easy and successful last step in creating your beautiful kitchen cabinet doors.
Adjusting the Doors for Proper Operation
Adjusting the doors for proper operation is a crucial step in installing kitchen cabinet doors. Here are some tips and tricks to help you achieve a seamless fit and smooth operation:
- Use adjustable hinges: Install adjustable hinges that allow you to change the position of the door vertically, horizontally, and depth-wise for a perfect fit.
- Check for level and plumb: Before installing the hinges, make sure the cabinet frame and door are level and plumb to ensure proper alignment.
- Use shims: Shims can be used to fill gaps between the cabinet frame and the door to improve the fit and prevent sagging.
- Test the doors: Once the doors are installed, test the operation by opening and closing them several times to check for smoothness and adjustability.
By following these tips and tricks, you can successfully install and adjust your kitchen cabinet doors to achieve a professional-looking finish at home.