Are you dreaming of creating beautiful cement planters for your garden, but don’t know which type of cement is right for the job? Don’t worry – this article will provide you with the information and tips needed to make your DIY cement planter dreams come true!
You’ll be able to turn your backyard into an incredible oasis in no time.
Introduction
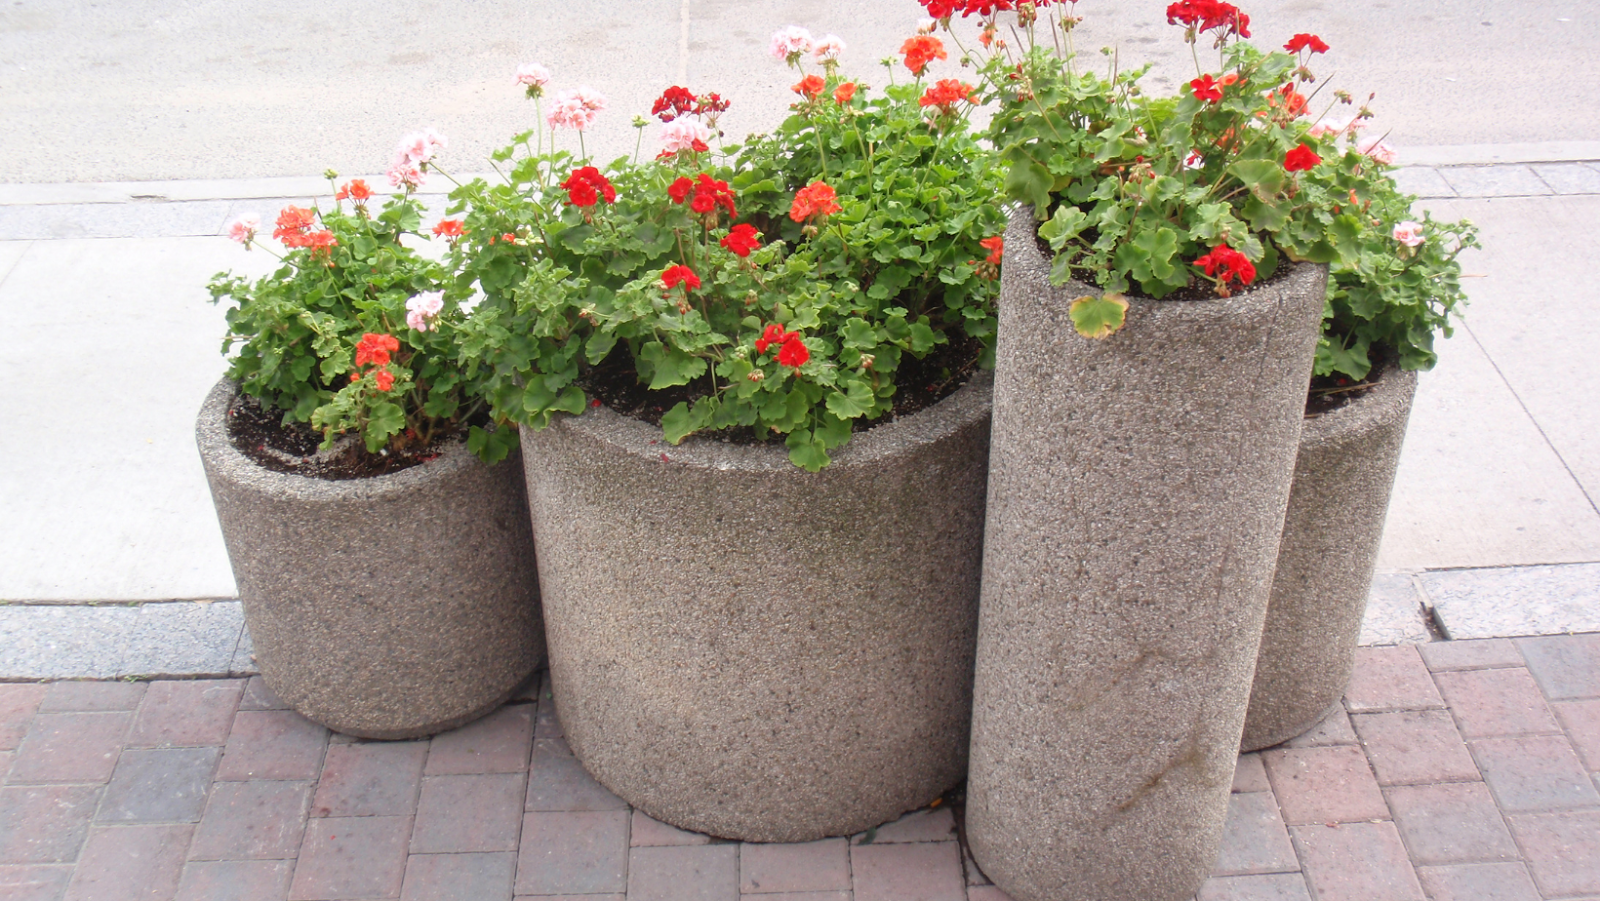
Cement planters are an excellent way to add some character and greenery to your home or garden. However, selecting the right type of cement for DIY planters is crucial to ensure that they are durable and long-lasting.
Here are the tips to make cement planters:
- Choose the right cement: Use Portland cement, which is known for its strength, durability, and resistance to harsh weather conditions. Avoid plaster of Paris or quick-drying cement, as they are not suitable for outdoor use.
- Use a good-quality mold: Use a silicone mold, a plastic mold, or a cardboard box to create the desired shape and size of your cement planter. Make sure that the mold is sturdy and can hold the weight of wet cement.
- Add reinforcement: Mix in reinforcing fibers or wire mesh to the cement mix to make the planter more stable and less prone to cracking.
- Let it dry: Allow the cement to dry for at least 24-48 hours before removing the planter from the mold. Once removed, allow the planter to cure for at least a week before planting.
With these tips, you can create durable and beautiful cement planters that will add a touch of natural beauty to your living space.
What Type Of Cement To Use For DIY Planters?
Making cement planters has a plethora of benefits, including durability, versatility, and affordability. Cement planters are solid and can withstand harsh weather conditions, making them perfect for outdoor use. They come in various shapes and sizes, allowing you to get creative with your designs and match them to your home’s décor.
Additionally, cement planters are inexpensive and easy to make, so you can get a lot of bang for your buck. When it comes to choosing the right cement for your DIY planters, it’s crucial to opt for a cement mix that contains sand and fiber. These ingredients will provide extra strength and prevent the planter from cracking over time.
Avoid using plain cement, as it will not bond well and will easily break. Instead, choose a quality brand that is specifically formulated for outdoor use.

What Type of Cement is Best for DIY Planters?
Using Portland cement mixed with sand and aggregate is the best option for making DIY planters. This type of cement provides durability, stability, and resistance to moisture, making it ideal for outdoor use.
Here are some tips for making cement planters:
- Choose a mold or container to shape the planter.
- Mix Portland cement, sand, and aggregate in a ratio of 1:2:3.
- Add water to the mixture slowly, stirring constantly until it reaches a thick, moldable consistency.
- Line the container with plastic wrap, and pour the cement mixture in, filling it up one-third of the way.
- Press a smaller container with weights to make the drainage hole in the cement while wet.
- Tamp the cement with a trowel to remove air pockets and smooth the surface.
- Allow the cement to cure for 48 hours before demolding the planter.
- Sand any rough edges or bumps with sandpaper if needed.
- Pro tip: Adding liquid cement color to the mixture will give your planter a more uniform finish.
Tips for Preparing the Cement Mixture
When making cement planters, it’s important to use the right cement mixture to ensure a strong and durable finished product. Here are some tips to follow when preparing the cement mixture for DIY planters.
- Choose the right type of cement: While ordinary Portland cement is a popular choice, it’s not the only option. Consider using white cement or colored cement for a unique finish.
- Add the right amount of water: It’s important to use the correct water-to-cement ratio. Adding too much water can weaken the cement mixture, while using too little water can make the mixture difficult to work with.
- Mix thoroughly: Use a mixing tool to combine the cement and water thoroughly, ensuring there are no dry spots or lumps in the mixture.
- Add reinforcing fibers: If you want to make your cement planters even stronger and more durable, consider adding reinforcing fibers to the mixture.
With these tips, you’ll be able to prepare a strong and durable cement mixture to create beautiful DIY planters.
Tips for Molding the Cement Planter
When it comes to making cement planters, it’s important to choose the right type of cement that can withstand outdoor conditions and maintain its shape. Portland cement or concrete mix is the best choice for DIY cement planters.
Here are some helpful tips for molding cement planters:
- Choose a mold that is smooth and watertight. You can use plastic containers, bowls, or even cardboard boxes lined with plastic as molds.
- Mix the cement or concrete mix with water according to the instructions on the packaging. The consistency of the mixture should be similar to that of cookie dough.
- Pour the cement mixture into the mold, filling it up to three-quarters of the way.
- Tap the mold gently to remove any air bubbles and to even out the mixture.
- Place the mold in a dry, cool area and allow the cement to harden for at least 24 hours.
- Once the cement has hardened, carefully remove the planter from the mold.
- Sand the edges of the planter to smooth out any rough spots. You can also add drainage holes using a drill and a masonry bit.
With these tips, you can create beautiful and durable cement planters to add character to your garden or home decor.
Pro Tip: Add some creativity and mix different colors, patterns, and shapes to make your cement planters stand out.

Tips for Finishing the Cement Planter
When it comes to making cement planters, choosing the right type of cement is crucial to ensure the longevity of the planter. While there are different types of cement available in the market, Portland cement is the best option for DIY cement planters.
Here are some tips for finishing your cement planter:
- Once the cement has set, remove the planter from the mold and use sandpaper to smooth out any rough edges or bumps.
- Seal the planter with a waterproof sealant to prevent water from seeping through the cement and damaging the plants.
- Before planting, line the planter with a plastic liner or insert a pot to make it easier to remove the plants when needed.
By following these tips, you can create a durable and waterproof planter that will enhance the beauty of your indoor or outdoor space.
Tips for Planting and Caring for Your Cement Planter
When making cement planters, it’s essential to choose the right kind of cement to ensure that your planters are sturdy and long-lasting.
Here are the 3 types of cement that you should consider for your DIY cement planters:
- Portland cement: This is the most common type of cement used for DIY planters. It’s a blend of limestone, clay, and iron, and it sets quickly and dries to a hard finish. However, it’s not suitable for outdoor use as it may crumble due to exposure to water and other weather elements.
- Sand mix: This is a mixture of Portland cement, sand, and sometimes lime. It’s ideal for outdoor use as it’s more durable and can withstand different weather conditions.
- Concrete mix: This type of cement contains a blend of cement, sand, and stone or gravel. It’s the heaviest and most durable cement option, making it perfect for large planters and outdoor use.
To care for your cement planters, be sure to water your plants regularly, and protect them from extreme weather conditions such as frost or excessive heat. Pro Tip: You can add pigments to your cement mix to give your planters a unique look.
Conclusion
In conclusion, making cement planters is an excellent DIY project that can spruce up your home decor and add a touch of greenery. When selecting cement for your DIY planters, it is best to use a bag of Portland cement. This type of cement is readily available at most hardware stores and is ideal for small-scale projects such as planters.
Here are some additional tips to keep in mind:
- Choose the right mold for your project, consider using silicone molds for intricate designs or cardboard boxes for simple shapes.
- Use gloves and a mask when working with cement to avoid skin irritation and inhalation of dust.
- Allow the cement planter to cure for at least 24 hours before demolding or painting.
- Having a smooth and level surface will make it easier to add drainage holes in the planter. Ensure that you position the drainage holes carefully.
- Add some personality to your planters by using paint or different finishes such as metallic or textured coatings. Enjoy your new cement planters!